
Recipient Tab: Explained
On the Recipient tab, you can review Recipient Collection (Impact Statements) and view individual Recipient profiles and their details.
Sort by any of the columns or export the full list as an XLSX or CSV
Note: you can create a new Recipient and add an Impact statement, however you can only attach a recipient to a fund through the import template.
Recipient Collection tab
On the Recipient collection tab, you will be able to review your imported Recipient Impact statements and Approve, Reject or mark Incomplete.
Note: The Recipient Impact Statement must be Approved to show in an Impact report.
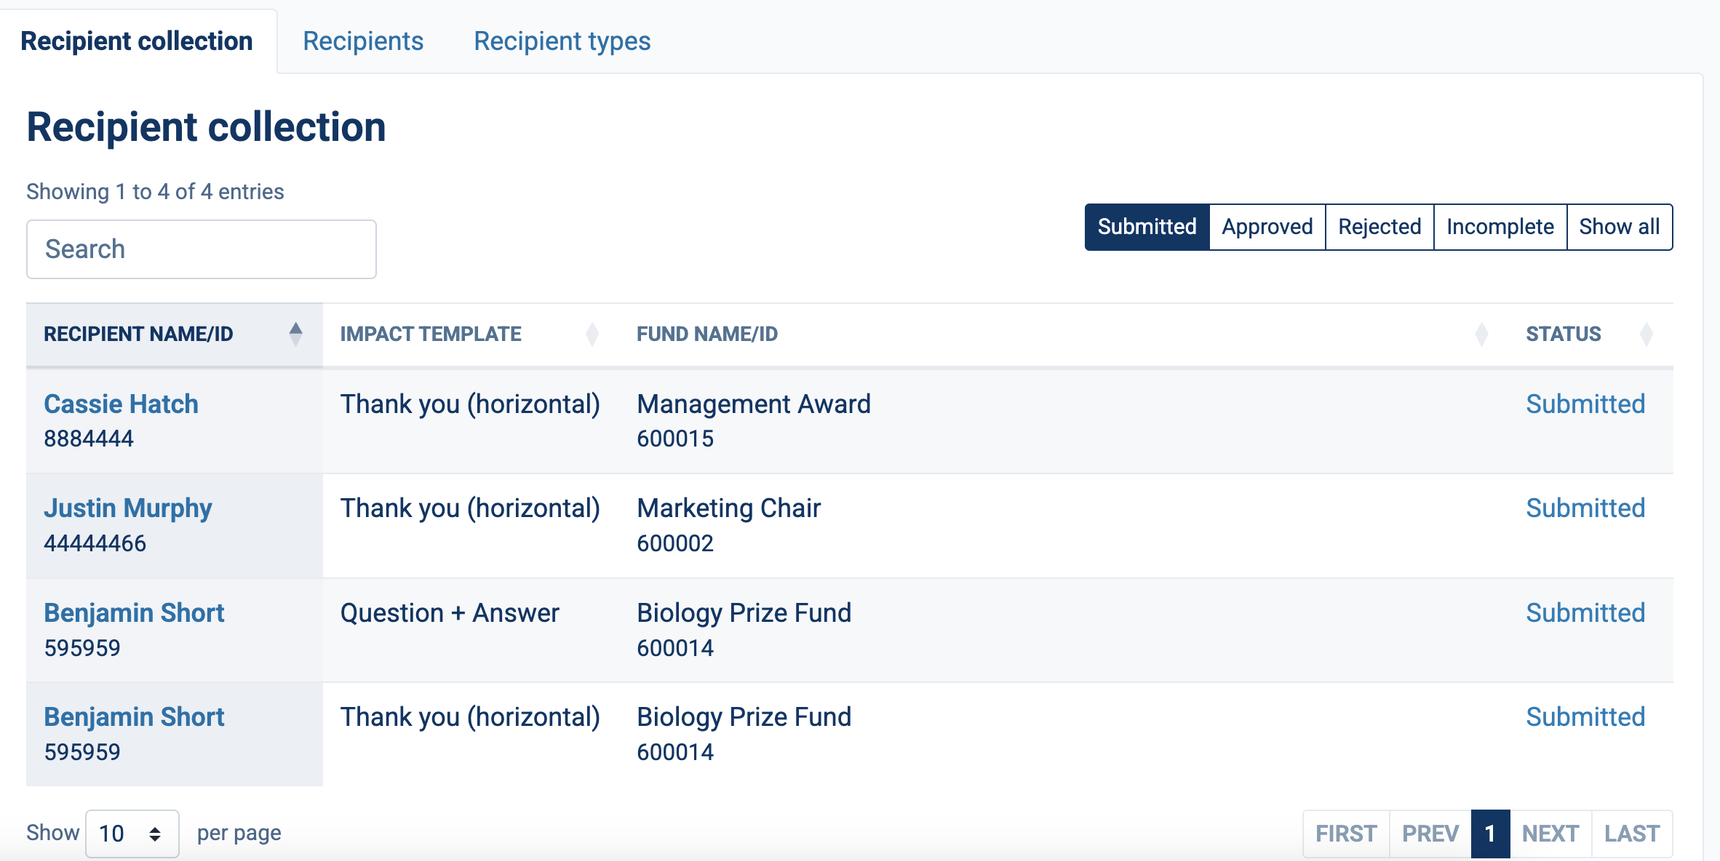
To Review the Impact Statement, click into the Recipient Name. There you will be able to upload a recipient photo (if needed), review their statement and preview what the page will look like. Once you satisfied with the look of the Impact Statement, you can "Approve" it. Note: The Recipient Impact Statement must be approved to show in an Impact report.
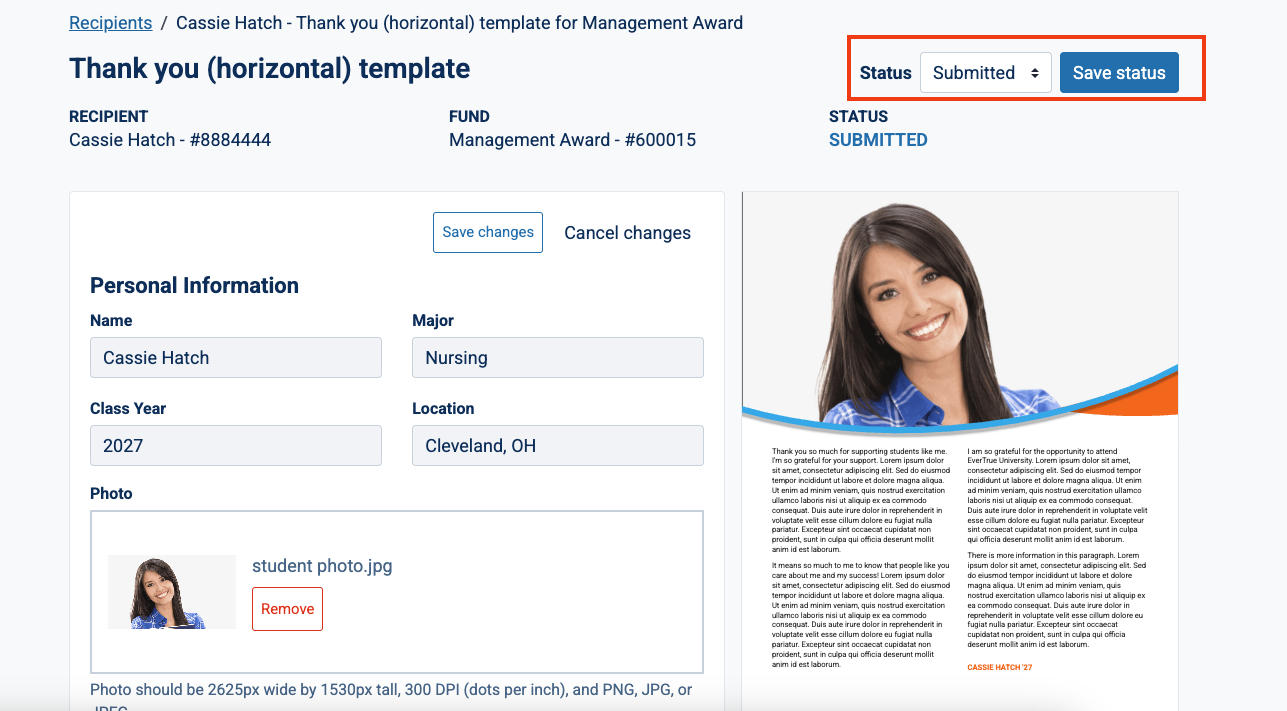
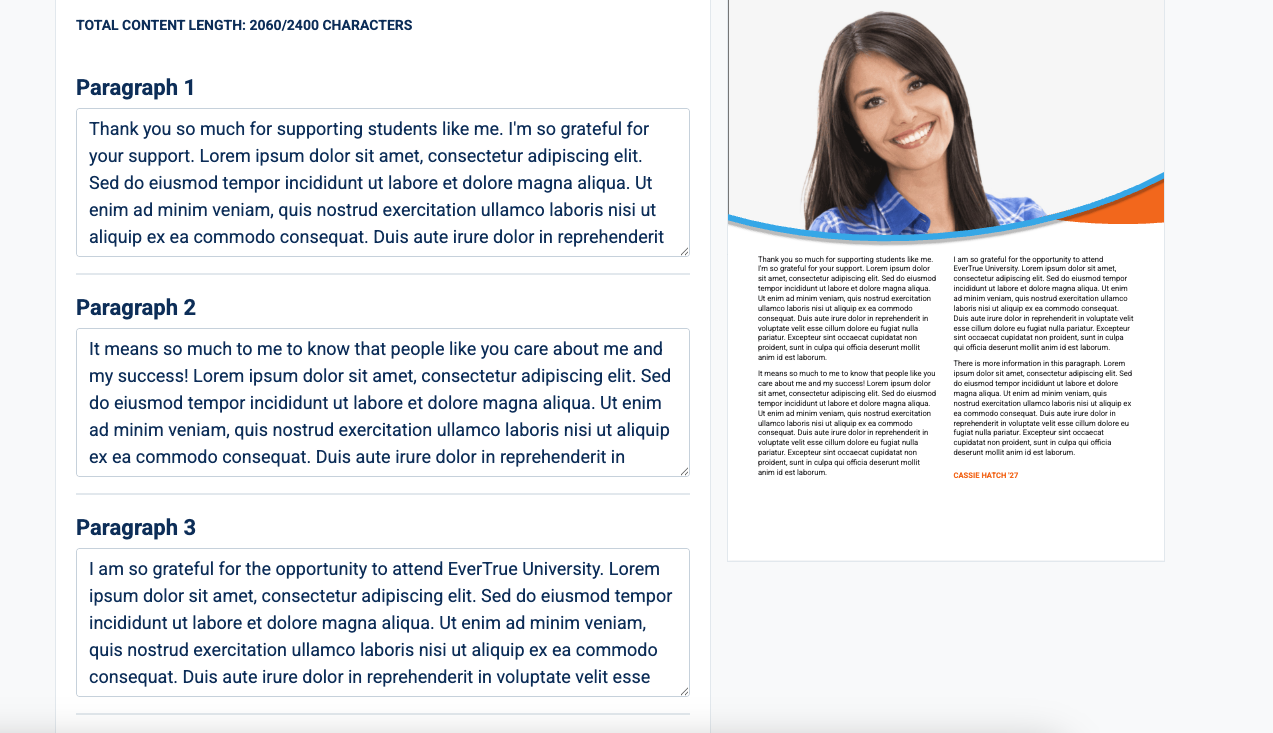
Recipients tab
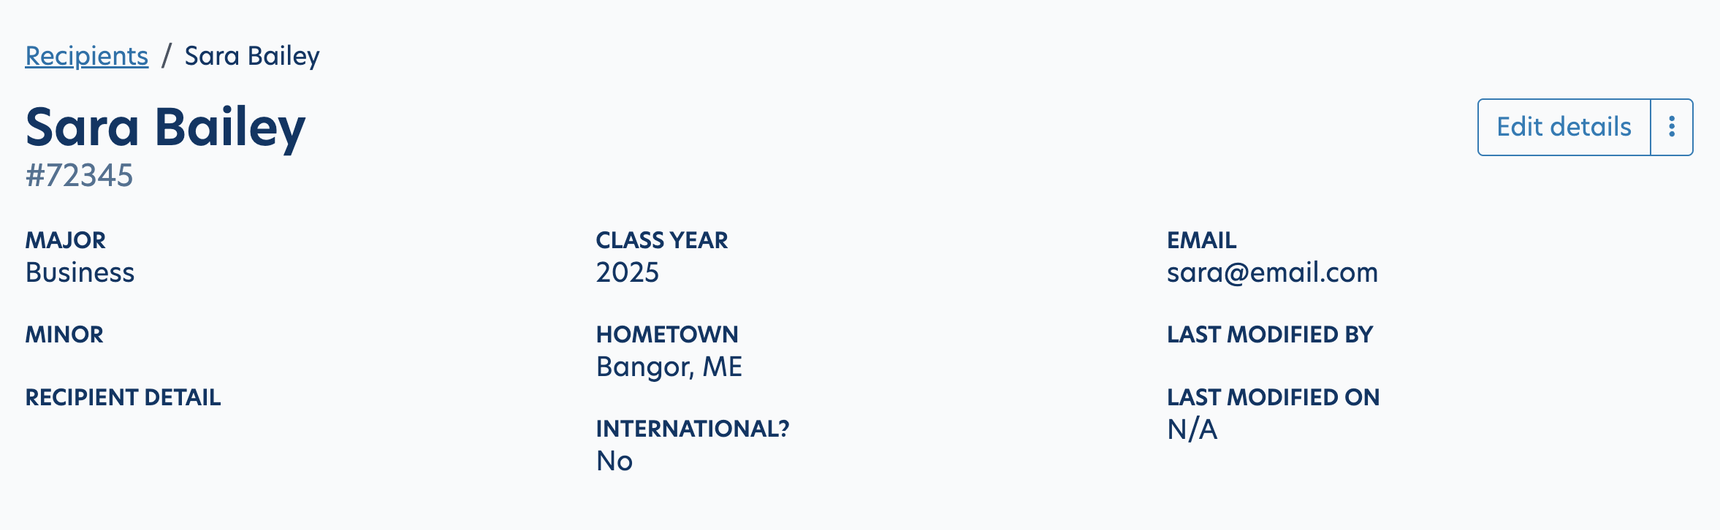
To review additional details about specific recipients, click into the Recipients tab.
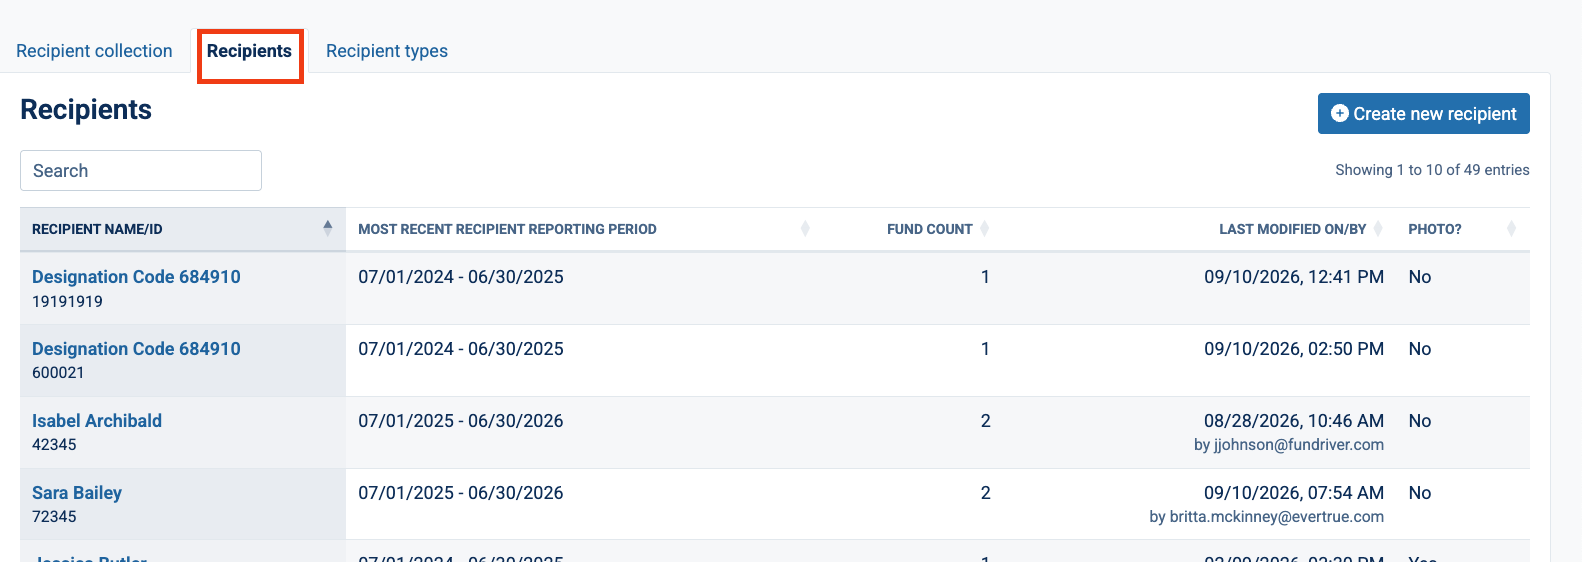
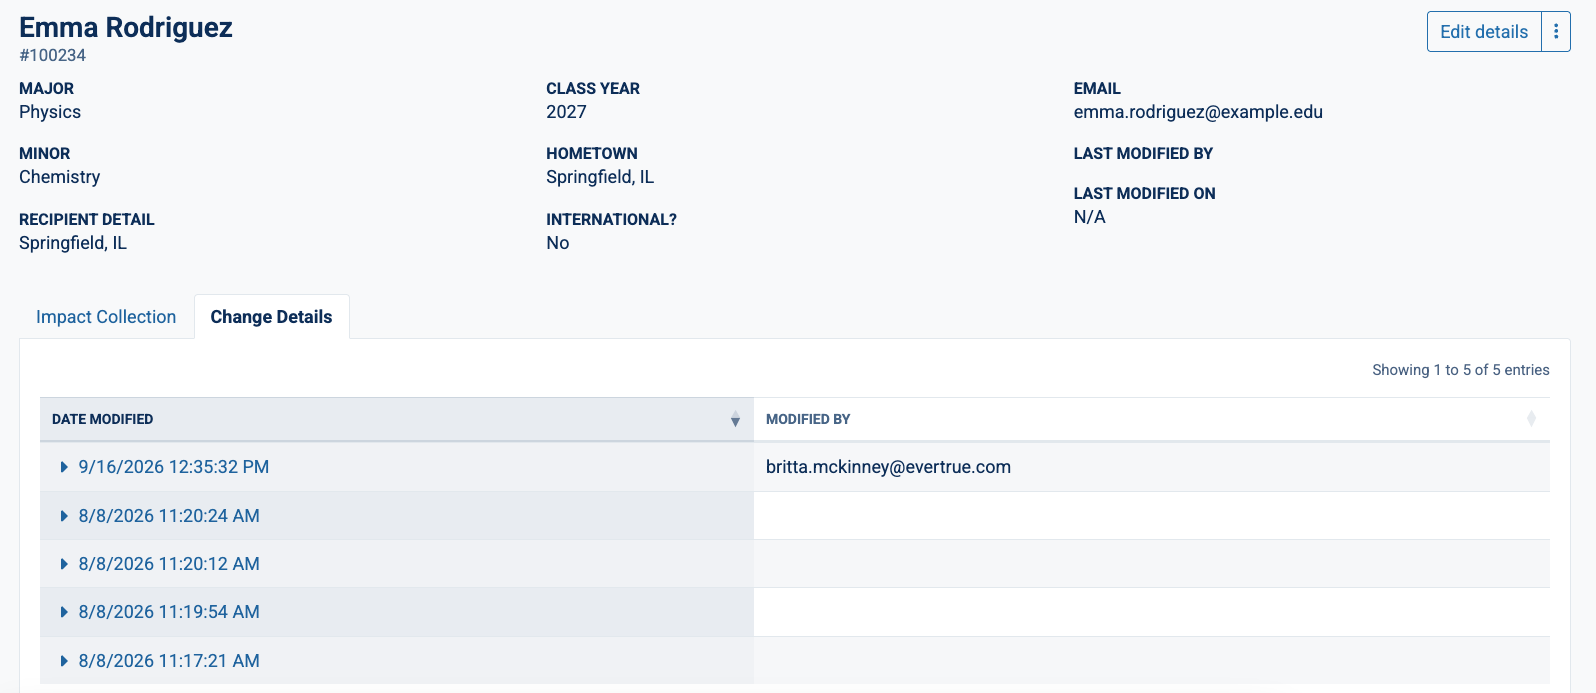
On this page, you can edit the Recipient Details or mark a Recipient as "Inactive" by clicking on the 3 dots to the right of "edit details". You can also view details about the recipient such as Major, Hometown and Class Year.
Impacts
This tab will show any Recipient Lists or Impact statements that the Recipient is tied to.
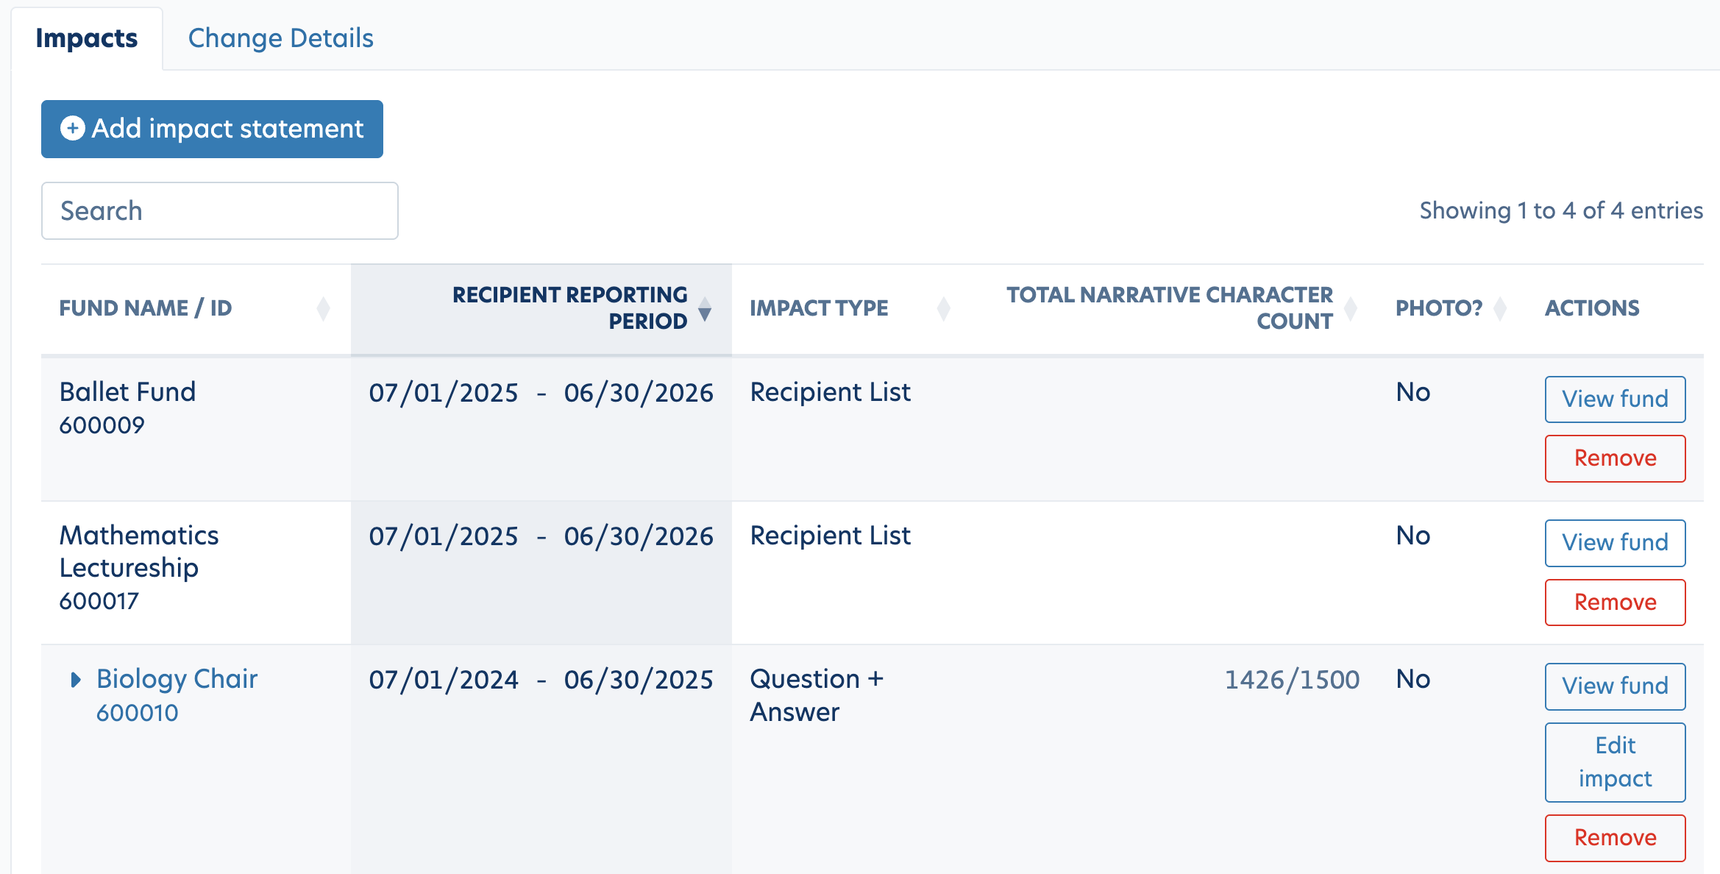
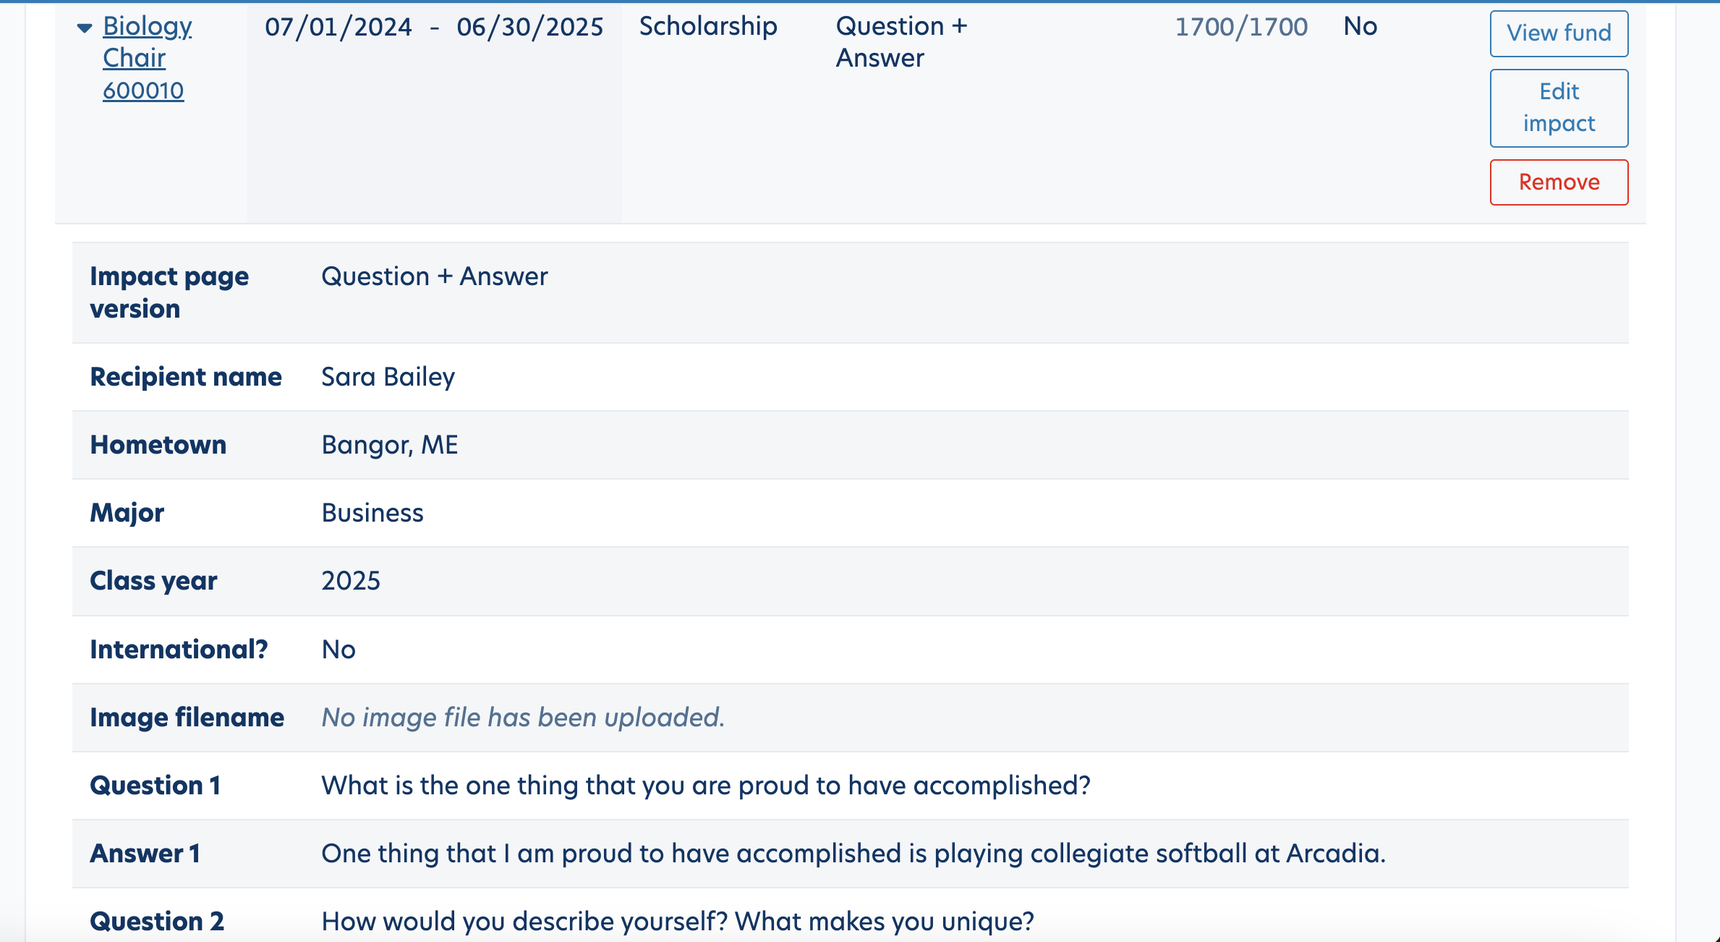
By clicking the arrow, the Impact statement will drop down so you see the details.
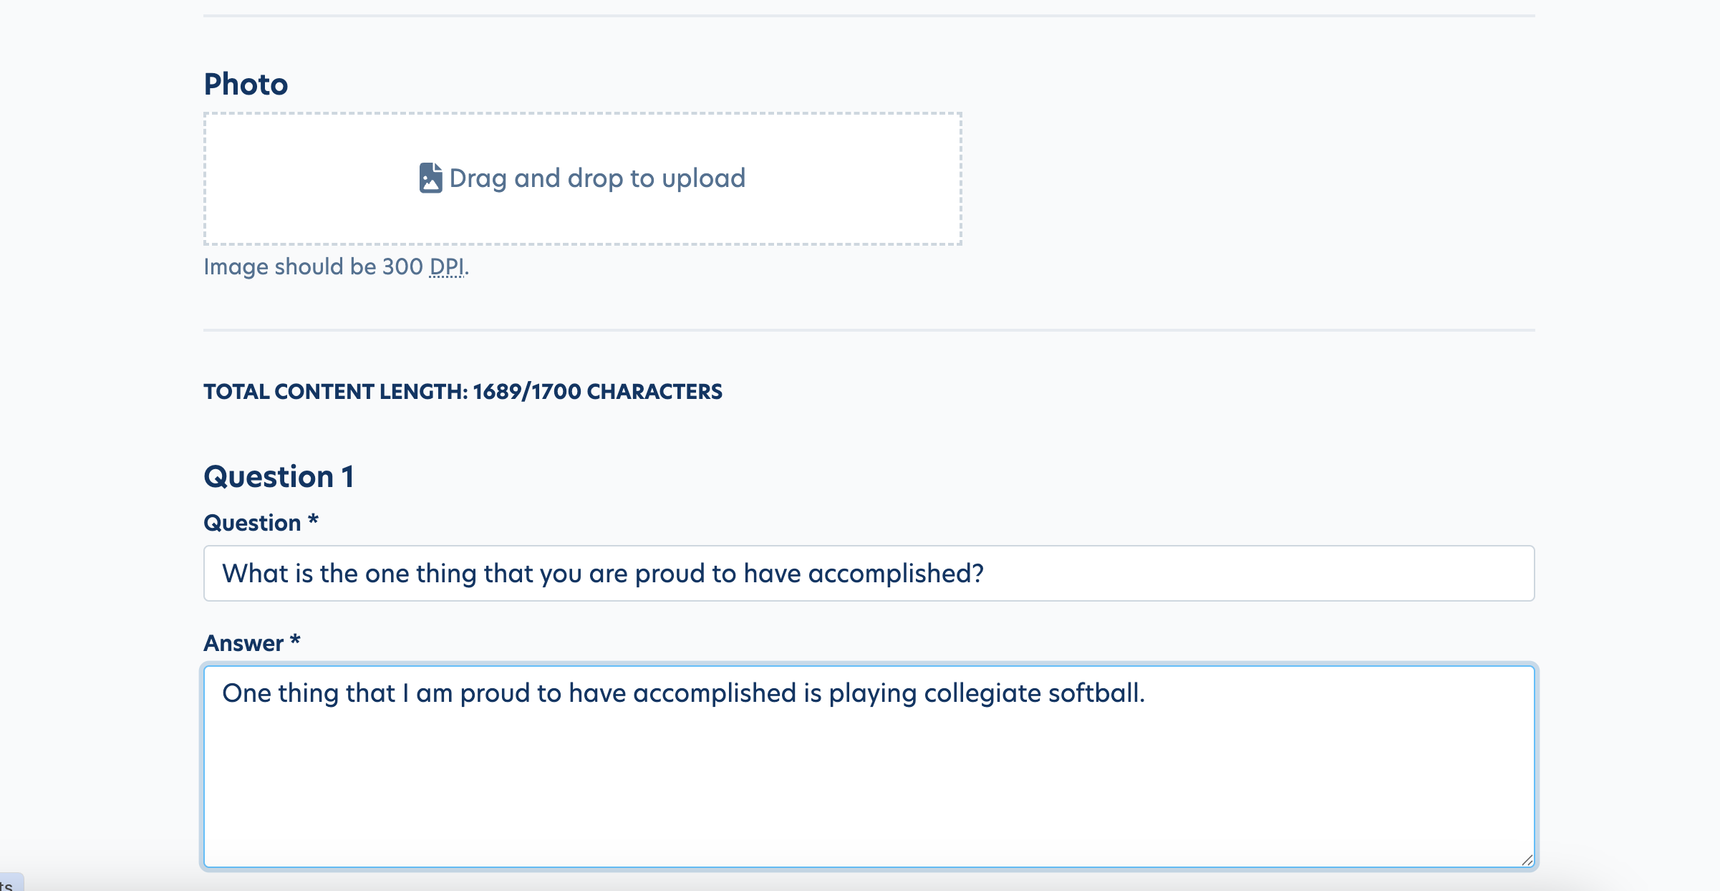
By clicking "Edit Impact", you can edit the Impact text or add/adjust a Recipient's picture.
Change Details
This section allows you to view a log of changes to that recipient's profile. Note: if the change was made using "Edit Details" (top right), the "Modified By" field will show the username of the person that made the change.
Reply
Content aside
- 5 mths agoLast active
- 34Views
-
1
Following