
Creating a Report Template: Step by Step Guide
Creating a New Report Template - Step by Step Guide
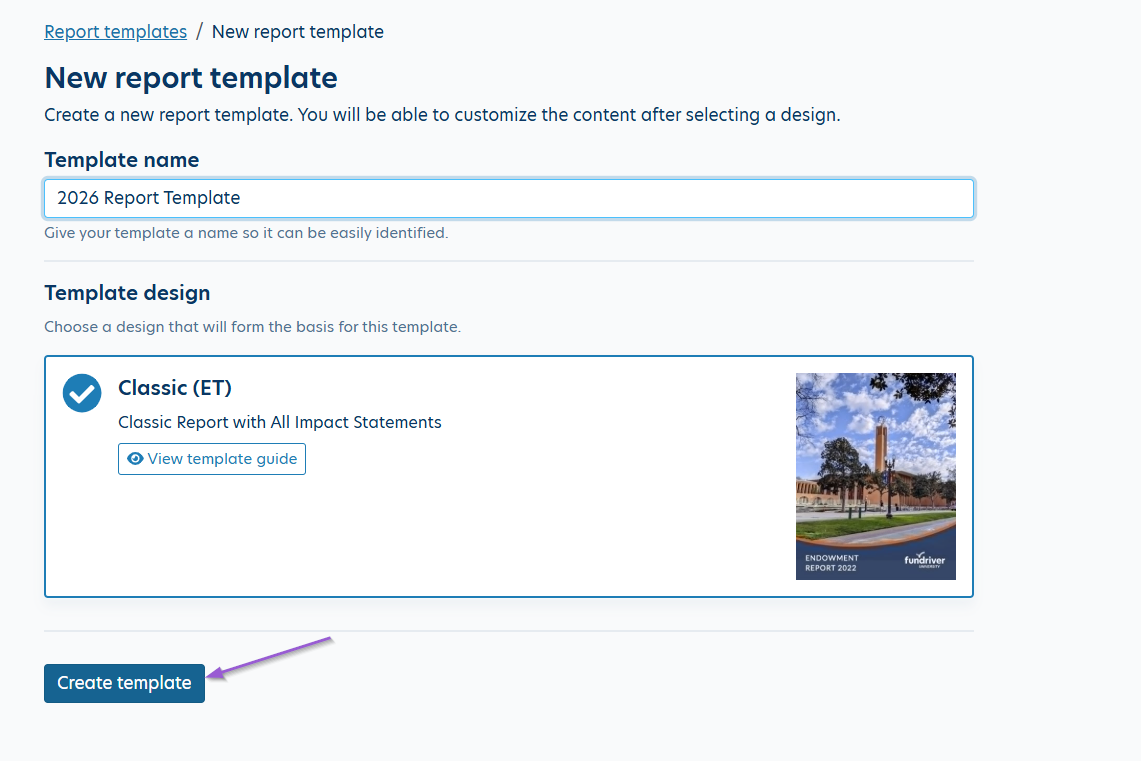
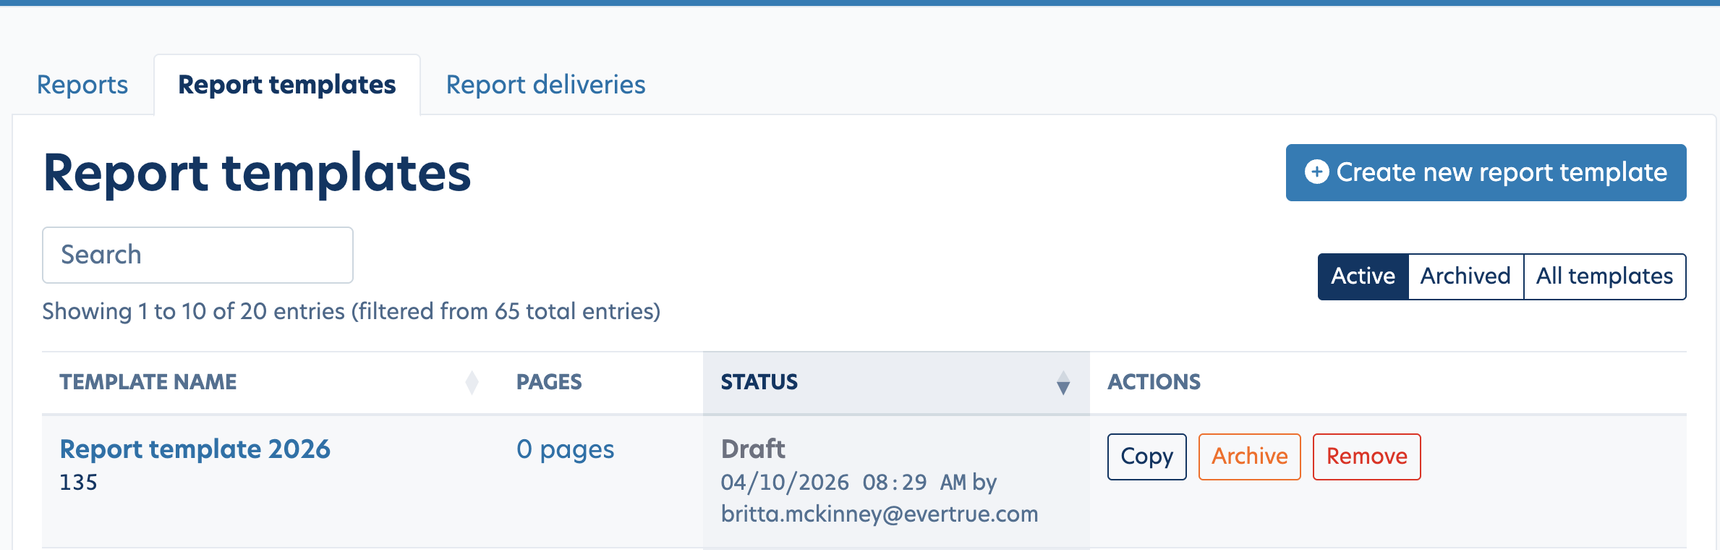
Go to the Reports page, then flip to the Report Templates tab.
Click the 'Create new report template' button towards the top right corner of the page.

- Name your new Report Template.
- Select Template Design (Classic ET). This is the only template design available currently.
- Click the 'Create Template' button.
Manage Pages
Here you will Manage Pages in your template.
- To include a page, click on the page name on the left side and then toggle on the "Include Page" button as shown below. To turn a remove page from the template, toggle the "Include Page" back off.
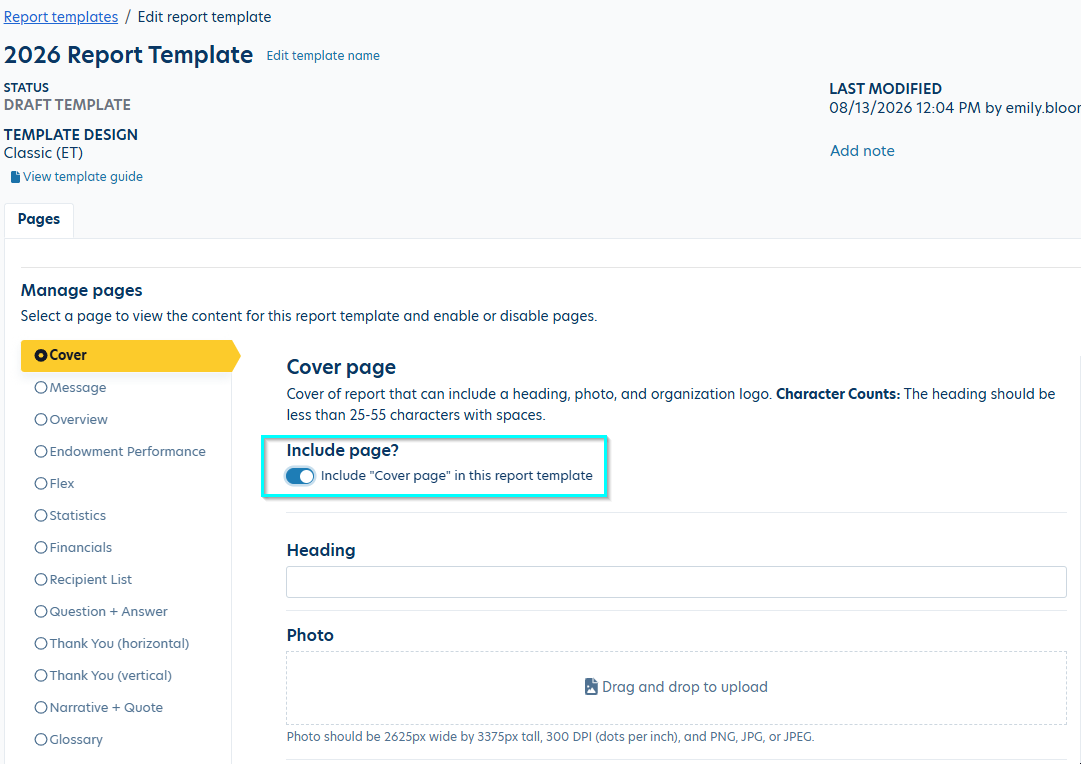
- Next you'll populate the appropriate fields for each page that you want to include in your template. These may include Headings, Images, Descriptions, Paragraphs, etc., depending on the page type.
Adding Images
The image upload experience has been upgraded to make sizing, cropping, and adjusting photos a much smoother process. Refer to the Template Guide referenced below for guidelines on photo sizing.
- You'll drag and drop your images from your computer to the Photo area.
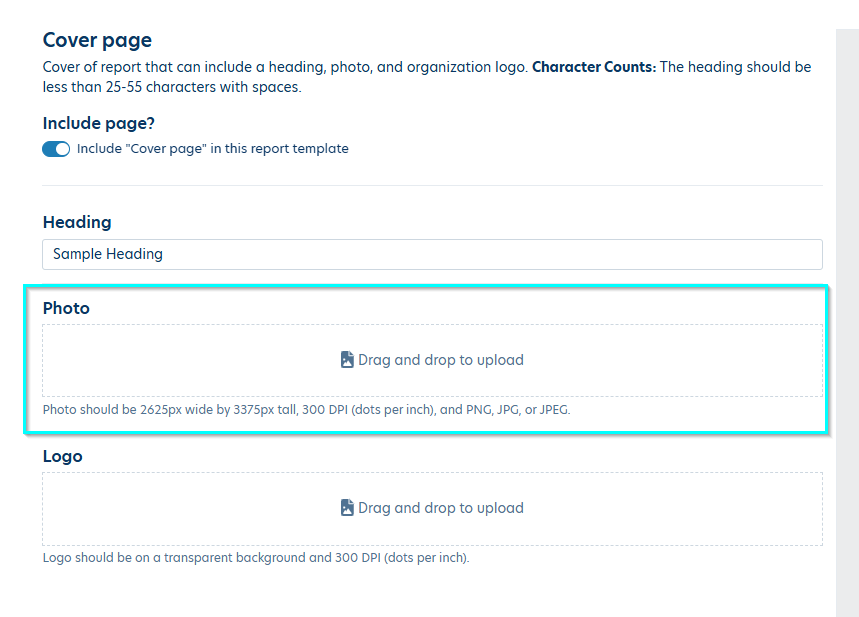
- Use the crop and resize handles to frame your image exactly how you want it — no guessing, just drag.
You'll see a red banner appear with feedback if the image does not meet the design requirements - for example if the crop area is too small.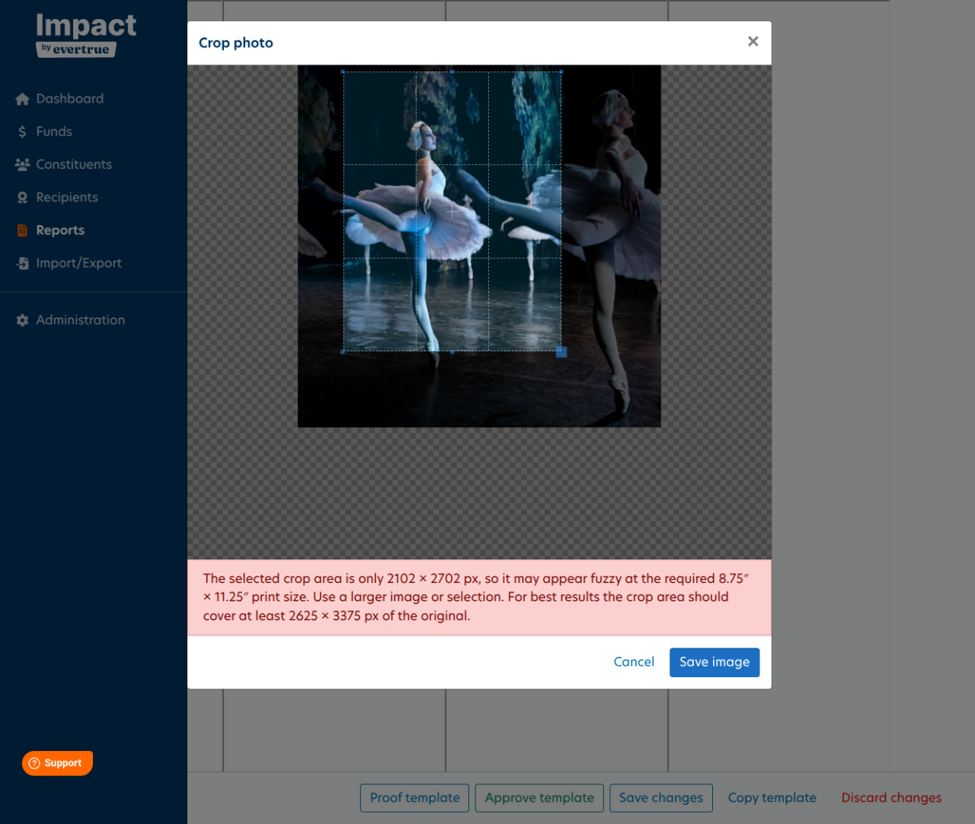
If you choose to save the image anyway, a yellow banner will appear below the Photo area in the report template.
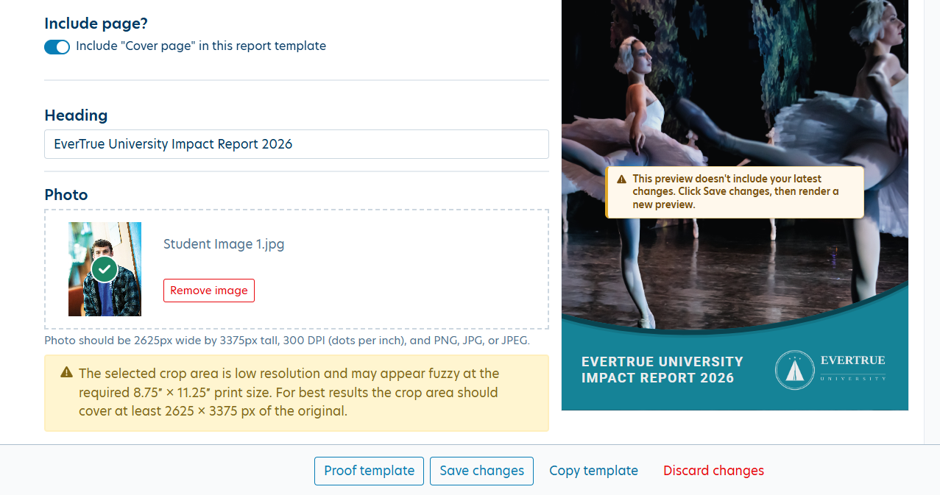
Once you've adjusted the image and crop area to the appropriate size, the feedback banners will disappear.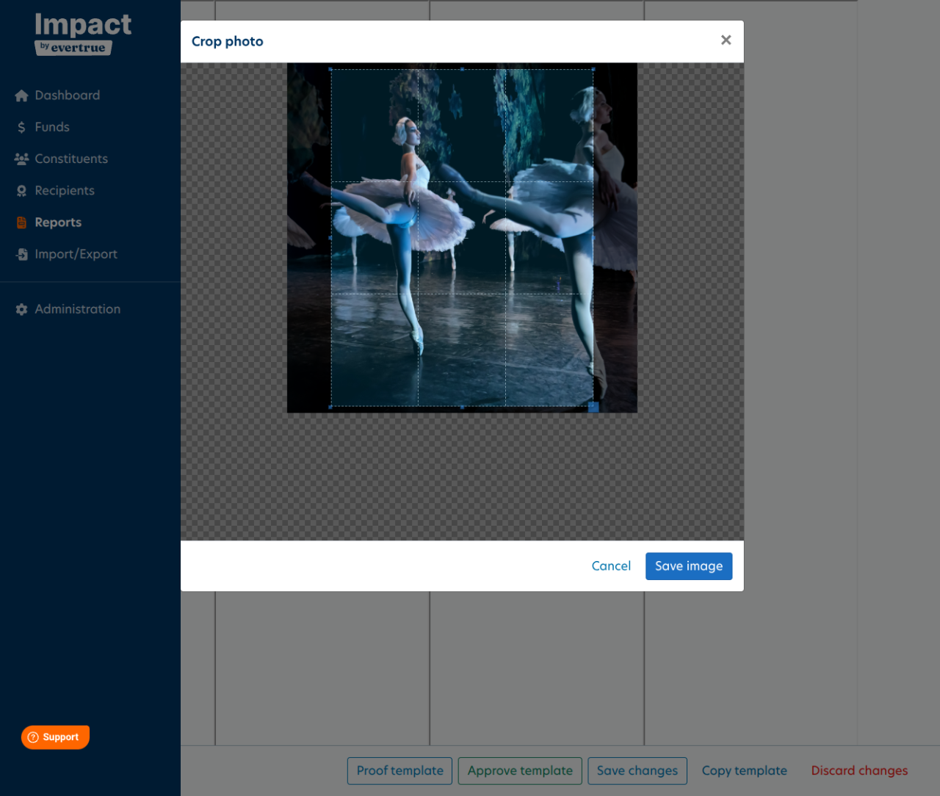
- When your image is properly positioned and sized, click the 'Save changes' button at the bottom of the page to save your changes and lock everything in place.
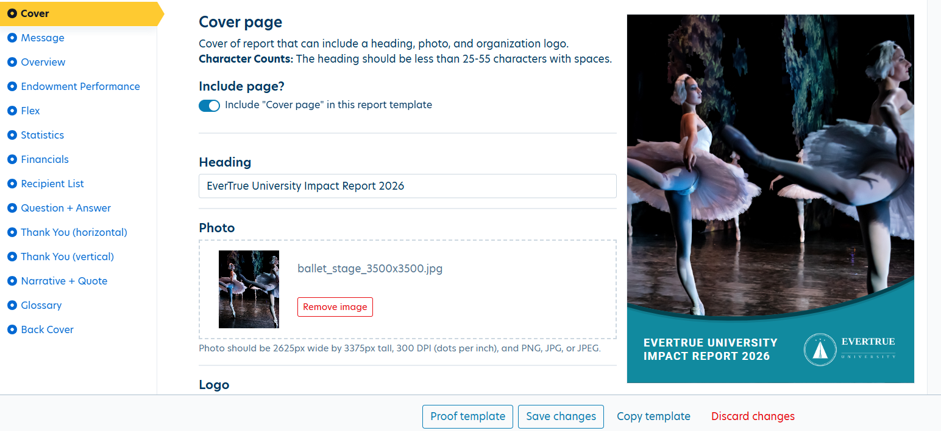
- Once your changes are saved, refresh the preview window to see how your updated image looks rendered on the page.
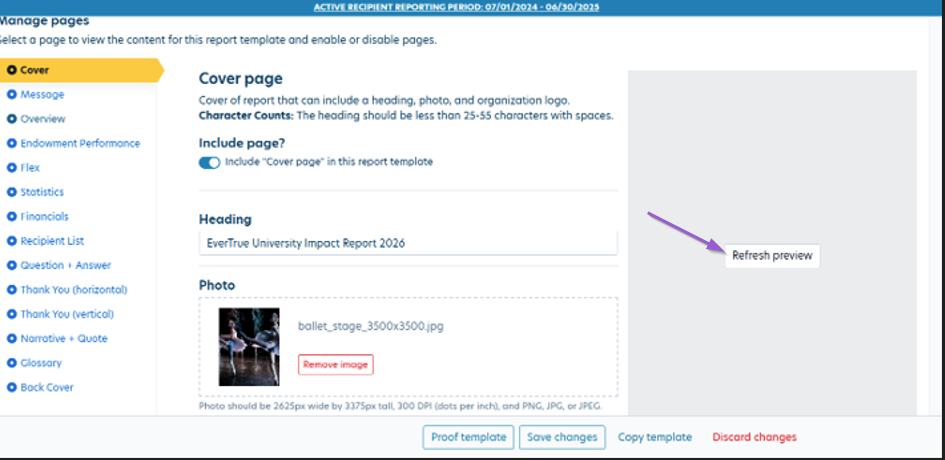
- Double-check placement, crop, and sizing before finalizing the report template. Click 'Save changes' again when you're done.
Template Guide
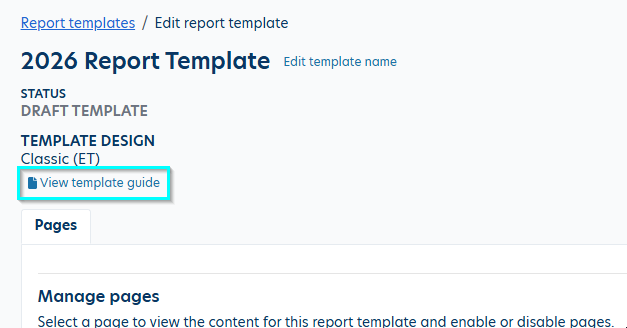
At the top of the page, you can view the new Template Guide that provides details about character limits and photo sizing.
The guide is also attached here for your convenience: Impact Report Template Guide 2026
Running a Proof
In order to see a live preview of the template you've created, you can run a Proof. To run a Proof, you will select the "Proof Template" button at the bottom of the template page. Running a Proof will a generate a PDF example of your template.
Note: If you are using one of the dynamic pages such as the recipient page, thank yous or Q&A and do not have data uploaded yet, you will receive an error message when running a proof. If you'd like to continue and see the other pages, simply toggle off the dynamic page, press Save and try again.
- After running a Proof, the latest PDF will display at the top of the page above the template design. Note: when you run a new proof, that will discard the old proof.
- On the main Report Template page, you can create a Copy, Archive or Remove a Report Template. Note: once a template is approved, it can no longer be removed.
Reply
Content aside
- 6 mths agoLast active
- 90Views
-
1
Following